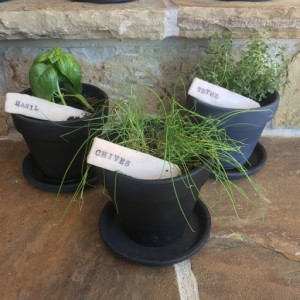
Life can be so busy and it seems as though we are pulled in every direction. When I want some down time, I tend to either cook or get my hands dirty with some type of project. Both soothe me and seeing the finished product, knowing that I made it, makes me feel accomplished.
Love my projects and when it is food related, makes it all the more fun to do. I found adorable herb pots and markers on Magnolia Market’s Blog. Joanna Gaines makes the difficult seem simple so I was a bit apprehensive when I clicked for the instructions. Seriously, it couldn’t be any simpler.
Here is what you need:
- Oven baked clay (purchased from Michael’s craft store) (each block of clay makes approximately six stakes)
- Rubber alphabet stamps
- Black (or any other color variation) stamp pads
- Clay working tools (optional)
- Cookie sheet
- Rolling pin
- Parchment paper
- Pots of choice
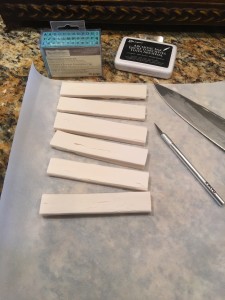
- Lay out your clay and cut strips using the existing grooves. If your clay does not have grooves, cut your strips approximately 6″ long and 1″wide.
- Using a rolling pin, roll out your clay strips as long and skinny as you want them, keeping in mind that you do not want them too thin (should be thicker than two quarters stacked) to ensure they don’t break.
- Cut a pointed end on one side it can easily stick into the soil.
- Use alphabet stamps and an ink pad to stamp the herb’s name into the clay stake.

- Lay your parchment paper down on the cookie sheet so your stakes do not stick to the pan.
- Right after the steaks come out of the oven, they’ll still feel soft. Allow to dry and harden for one hour.